As a Salesforce admin and consultant, I have had many conversations regarding Assets in Salesforce. Whether that be as part of your post-sales process e.g. tracking warranties, or part of your service process as a way of providing Entitlements to your customers on certain products that they have purchased. Either way, this little feature can be a key part of your end-to-end sales/service journey. With that in mind, let’s look into how you can create Assets in Salesforce?
Unfortunately, there is no out of the box automation for Asset creation. But here are 2 declarative ways to add Assets in Salesforce that I would recommend.
1) You can manually add Assets to an Account record. This all depends on volume. If your sales team has enough time on their hands, then this is a totally valid way of adding them. However, bear in mind that if your Account has multiple Opportunities that have lots of products, that have different Entitlements and or warranties then this process can be cumbersome. My opinion – take this option only if you have a few Closed Won Products that require converting to Assets.
2) You can use Flow and Process Builder to automatically create Assets. This is a much more involved process which requires a flow that can either be triggered by Process Builder or manually by the user and flow screens. For example, perhaps you have a Closed Won Opportunity that has multiple Opp Line Items (Products), that each requires an Asset record. The Asset needs a start and end date, a serial number, type etc. By creating a flow that loops through all of the Opp line items, you can generate individual Asset records and assign pre-defined field values. This option is much more powerful as it cuts out the admin and allows your team to get on expanding that pipeline. Sounds fab, right!?
But where do I start I hear you say? Not to worry I have the solutioN below. Enjoy creating some badass automation!
Here is a step by step guide to generating Assets via a screen when an Opportunity is Closed-Won.
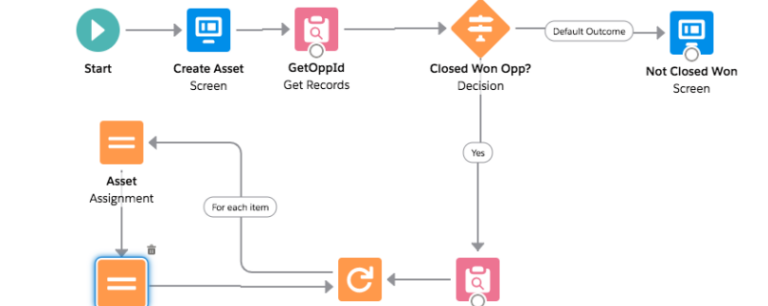
This is how your flow should look at the end:

1. Select the Screen element and add a label – this will be what the users see on the record page. 
a. Add a Display Text from the screen components and insert text.
2. Select the Get Records element.
a. Add a label
b. Select the Opportunity Object
c. Here you want to save our Opp id to a variable so that you can reference the fields later on in our flow.
i.In the Field box select OpportunityId> in the value box, select +New Resource> Resource Type: Variable>Add API Name>Select Text as the data type. You also want to make the id available outside the flow.

d.Your Get Record component should look like this: 
e. Scroll down on your GetOpportunity component, select – Only the first record and make sure “Manually assign variables (advanced)” is ticked.
f. Select ‘Store Field Values’ ‘In separate variables.’
g. So what information do we want to get from our Opportunity record? Well, we want the AccountId, so firstly select AccountId in the field and then create a new text variable for reference later. (Look at point 2c for reference).
h. We will also want the Opportunity Stage. Select the Opp StageName field and add this to a new text variable – OppStageName, for reference later.
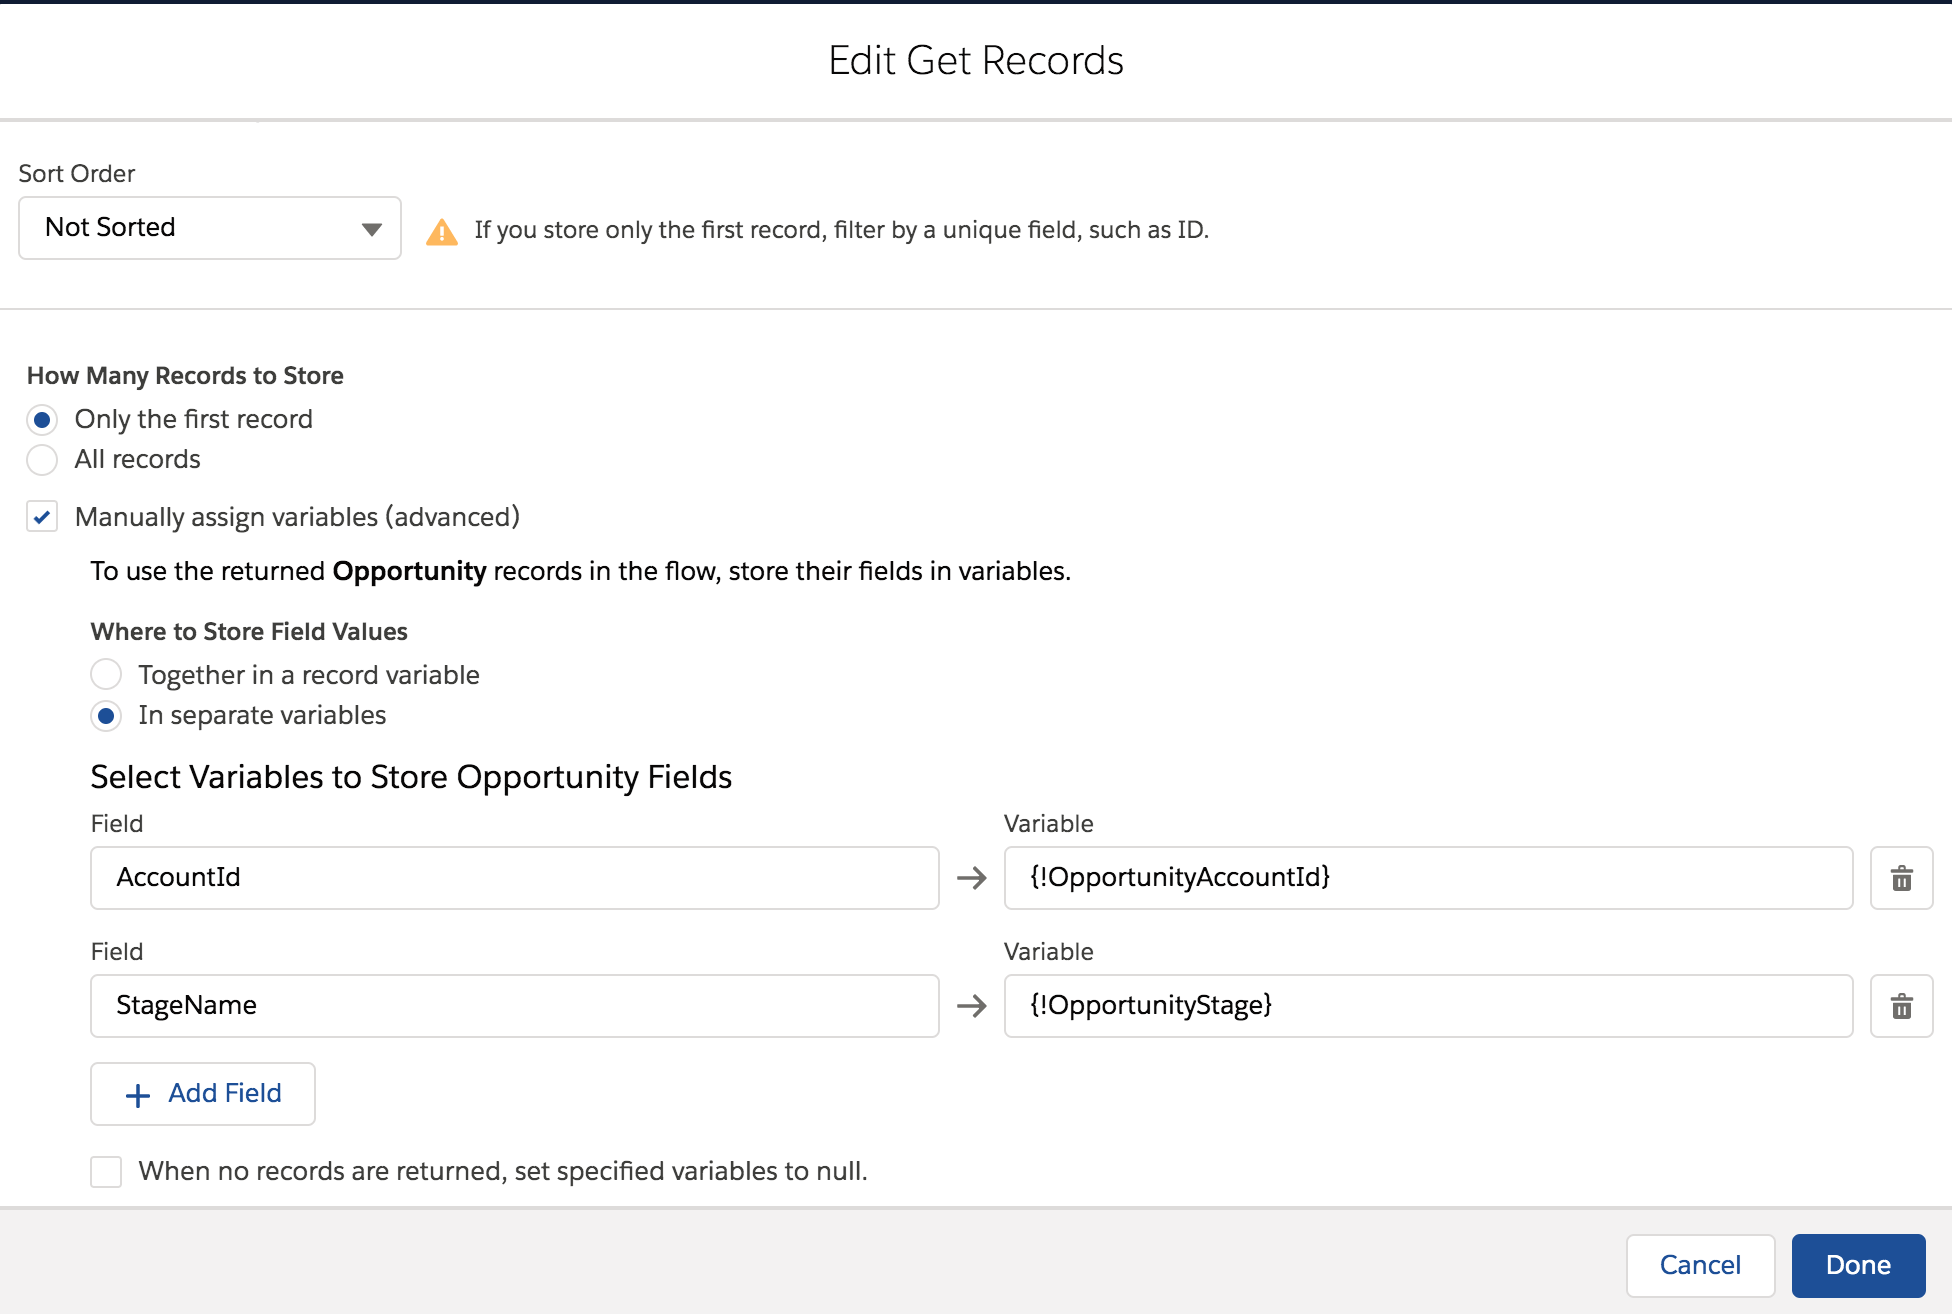
Great! So far we have our Opportunity and the fields we will need to reference in our flow later.
The next part is defining a decision as to whether the opp has been closed won or not. In this instance, you do not want the user to be able to create assets on opportunities that have not been closed-won.
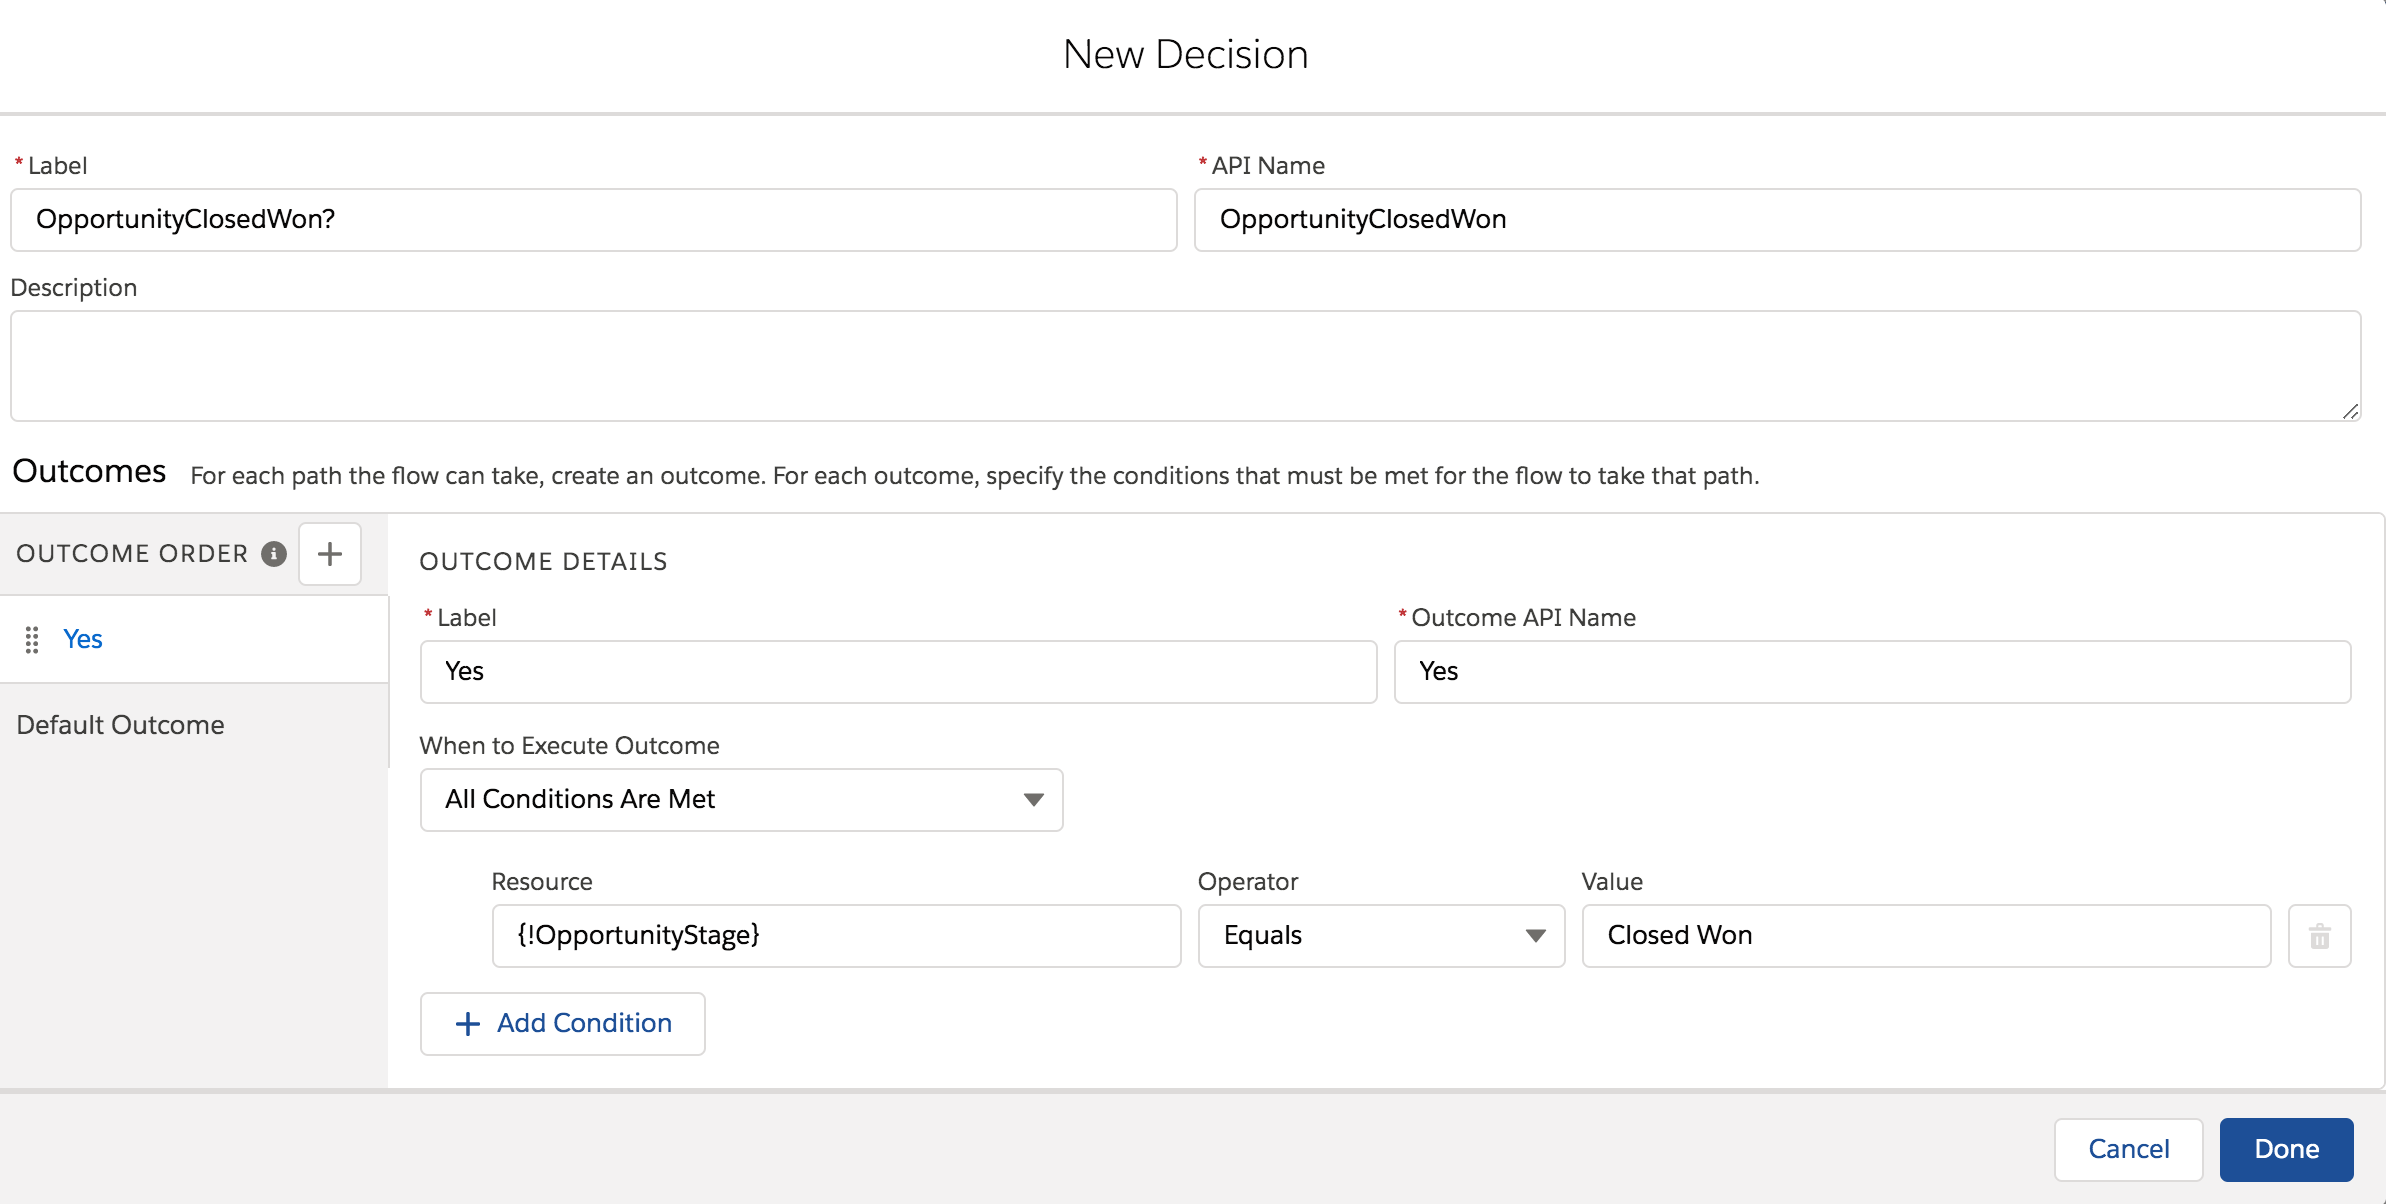
3. Select the Decision element and name it Closed Won Opp?
a. Outcome label – Yes
b. You want to execute when all conditions are met
c. For our condition, you will use the variable – OpportunityStage variable that you created in the previous element. So for the Resource field select: OpportunityStage. Operator: Equals. Value: Closed Won.
d. Closed Won is free text and case sensitive.
e. Leave the default Outcome as is or label to No.
f. If the Opp has not been closed one, you want the user to know this. To do that, you may wish to add another Screen element.
g. Add a label: Not Closed Won

h. Add a Display Text from the screen components and insert text.

You will now need to get all the Opp line items associated with the Closed Won Opportunity.
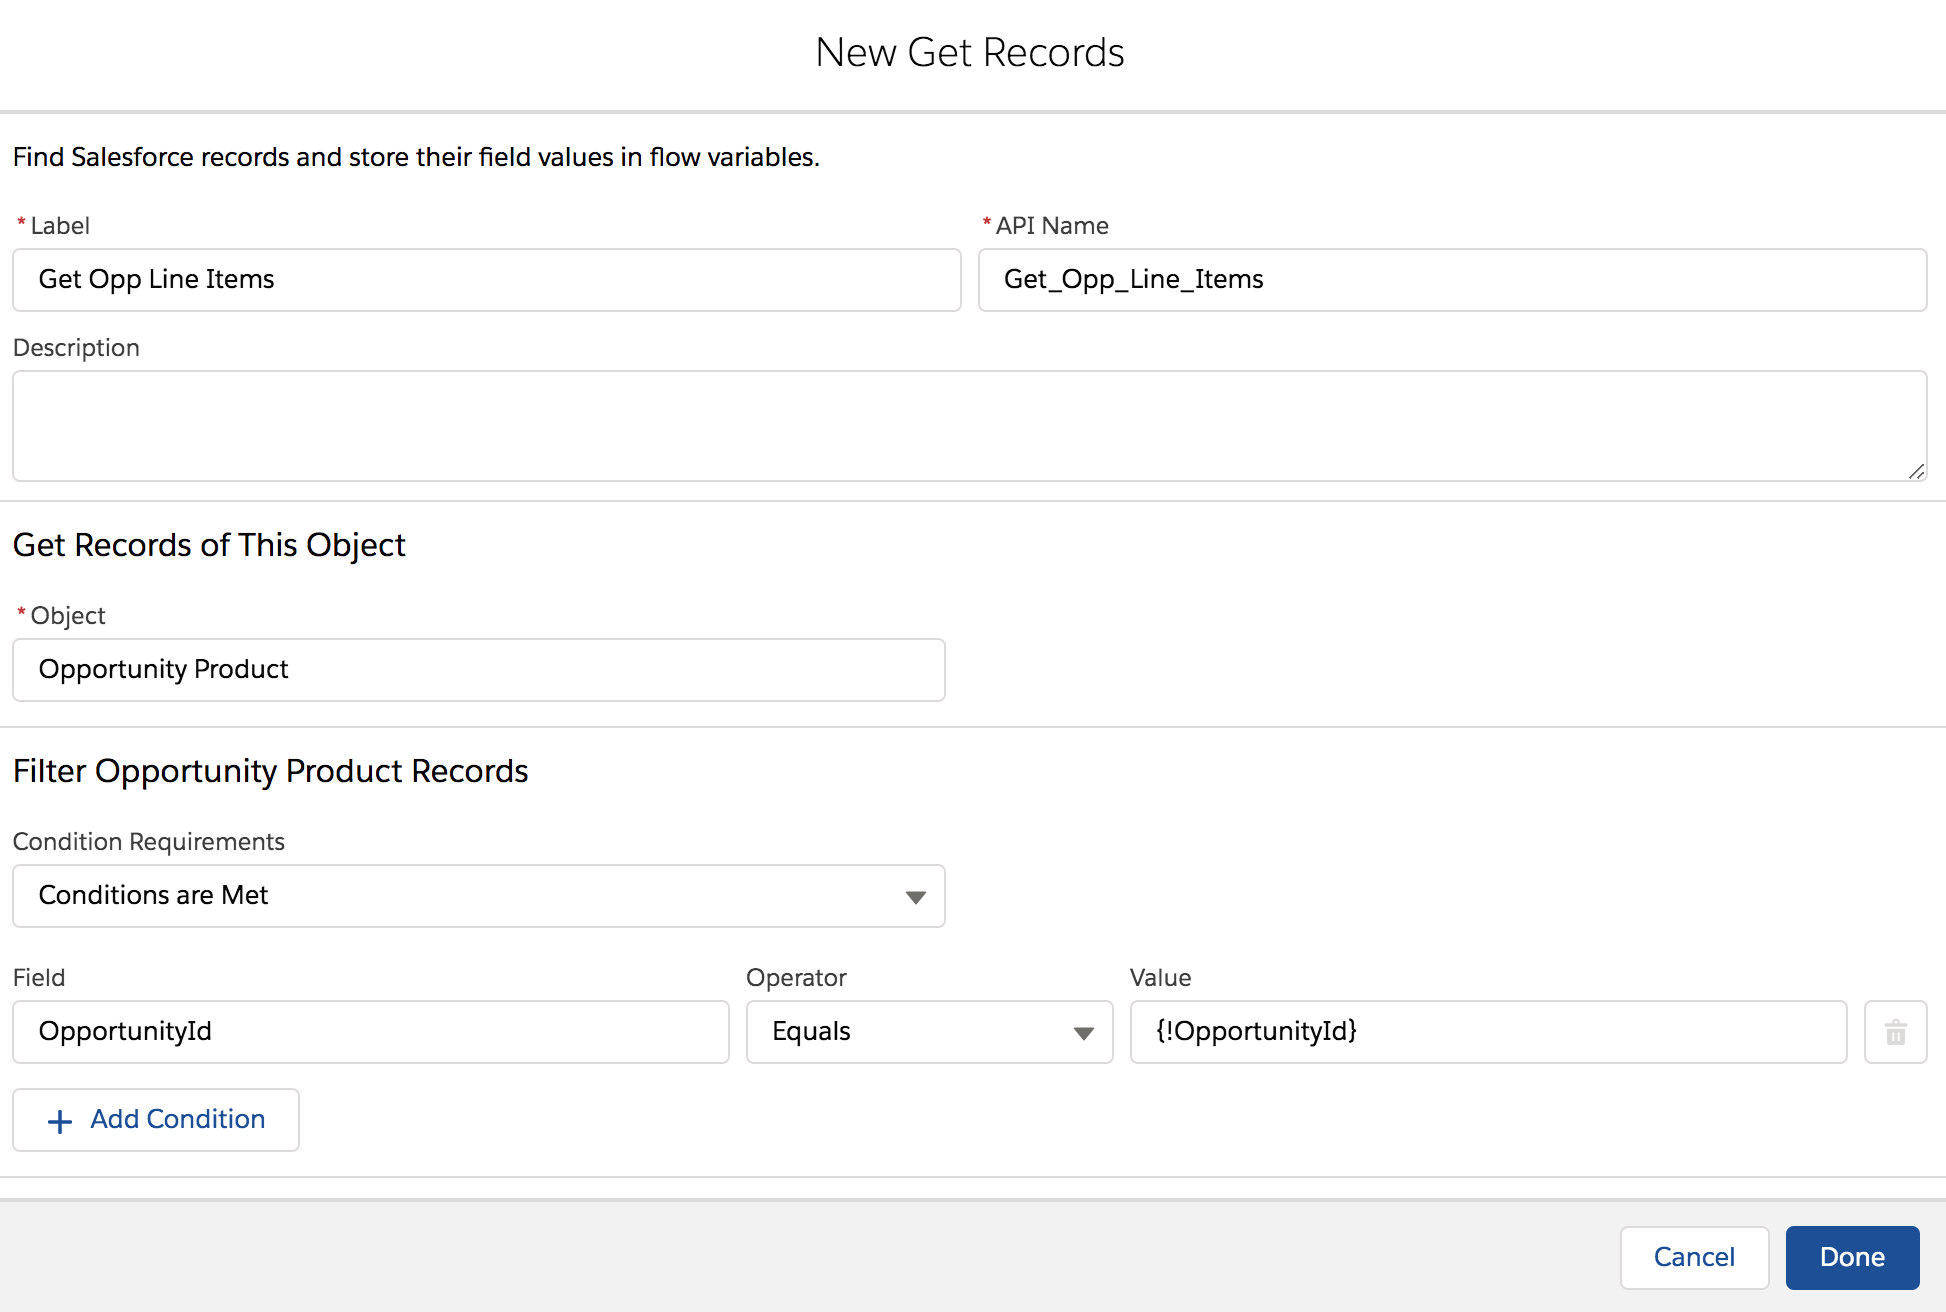
4. Select the Get Record element
a. Label: Get Opp Line Item
b. Select Opportunity Product as the object
c. Here you want to make sure the products you are getting belong to the correct opp. Therefore you need to create a condition and get only the record where the Opportunity Id Equals our {!OpportunityId} variable that you created earlier.
d. Scroll down and select ‘Not Ordered’.
e. Select ‘All Records’ for Storing and make sure the ‘Manually assign Variables (Advanced)’ is selected.
f. You will want to store all those records in a collection variable so you can use in our flow. To do this click +New Resource in the Record Collection Variable box.
i. Add an API name
ii. This time you want to save the records to his variable so select Record as the data type. *Make sure you tick “Allow Multiple Values (collection)*
iii. Select Opportunity Product as the object

iv. Click done and then select the new variable
v. Next, select the fields you want to store in this variable – for instance, these will be fields you want to integrate further on the flow or in this case, these are the fields you want to use when you create the assets.
1. ID
2. Description
3. Product2Id
4. Name
5. Quantity
6. Created Date
Once you have got our Opportunity Product Line Items, you will want to loop through them all to assign the fields you got in our Collection variables to the asset record.
5. Select the Loop element > All label “LoopLineItems”
a. Create a Collection Variable

b. Specify the direction for iterating over a collection to ‘First item to last item’
c. Once you have all opp line items, you want to store them in a loop variable –
d. Create a new Record variable > ass API Name “AllOppLineItems”>Data Type – Record>Object – Opportunity Product

Next, you will want to assign the fields to the Asset record
6. Select the Assignment element.
a. Add a label
b. Create a new Asset variable >+New Resource>Api Name “NewAsset”>Data Type – Record>Object – Asset
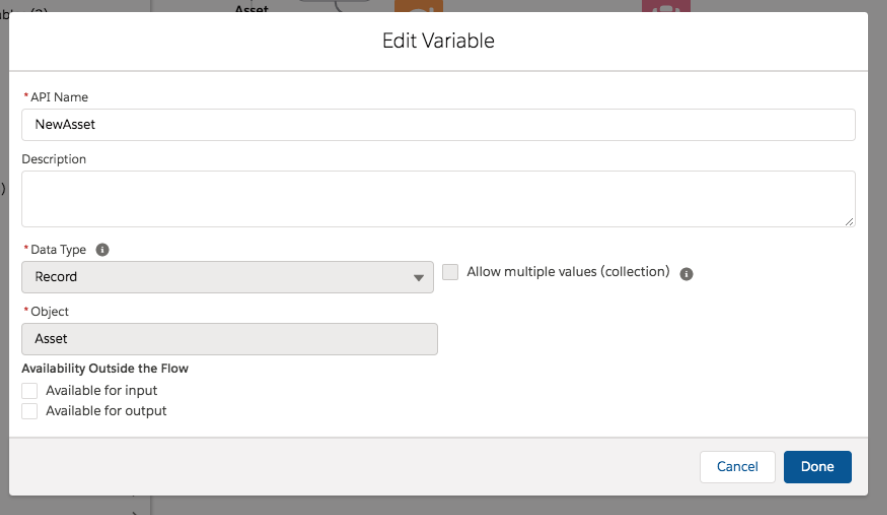
c. Next, select the variable and field you want to update upon creation of the new asset record. The Values will be the ones you have stored in the variables you have previously created. See screenshot below for an example.

Click Done and link your Loop component to the new assignment component. Make sure “For each item” is selected.
You will now want to Assign those new assets to an all assets variable so that you can create all the records it has looped through and assigned the fields to.
7. Select the Assignment element.
a. Add a label
b. Create a new Asset collection variable >+New Resource>Api Name “AllAsset”>Data Type – Record> Select ‘Allow multiple values (collection) Object – Asset

c. Once created, you will want to add the NewAssets to the AllAsset variable for creation.

8. Select the Create Record element
a. Add Label – Create Asset Records
b. How many to create – Multiple
c. Select Variable – {!AllAssets}

Create a Confirmation screen to let users know that they have been successfully created.
9. Select the Screen element > Add Label ‘ Assets Created’ > Select Display Text Screen Component

For users to have access to the screen flow, you will need to add the flow component to the lightning page.
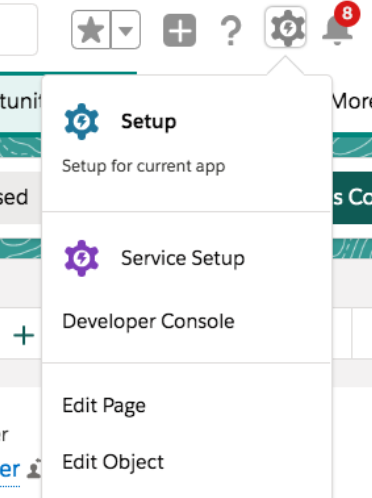
1. On the record detail page, click the cog > edit page
a. Select/search Flow from the list of lightning components

b. On the right hand side, select the Asset flow you have just created.
i. Not showing? Make sure the flow is active!
c. Select – Pass record ID into this variable.

Click Save!
And wallah! All Salesforce assets should now be created.
Top tip. The debug option in Flow is AMAZING. Therefore, I would suggest using this feature before activating your flow. That way it will let me know if the flow works, and if not, why? Cheers!
Happy Asset creating folks.